Chocolate Cake with Ganache Frosting + Video

What is it like?

- Super chocolaty

- Perfectly balanced with a hint of fruity cranberries

- Classy frosting which takes less than 5 minutes to make!

 
Note: The recipe below is for one layer of cake. If your’e feeling ambitious, you could slice the cake in half and fill it with ganache or jam (example above). Or, if you have made this style of cake before and have a very tall cake pan, you could b…

Note: The recipe below is for one layer of cake. If your’e feeling ambitious, you could slice the cake in half and fill it with ganache or jam (example above). Or, if you have made this style of cake before and have a very tall cake pan, you could bake two layers and then stack them. However, I recommend starting simple — You will be amazed to have made such a classy, homemade cake!


Recipe

This cake is moist and light. It’s bursting with chocolate flavor which is balanced by the fruitiness of the cranberries. In my book, it’s good for just about any occasion. And the frosting, with its classy look, could not be simpler.

Makes one 9-inch round cake or one 8 x 8 inch cake. This recipe can be used to make cupcakes or whoopee pies.


Dry
dry 1 cup flour mix, 130g
1/4 cup plus 2 tbsp cocoa powder, 32g (see note)
1 tsp baking soda
2 1/2 tsp psyllium husk powder or 1 1/2 tsp xanthan gum
1/4 tsp sea salt

Wet
scant 3/4 cup sunflower oil or olive oil, 157g
1 cup plus 2 tbsp sugar, 263g
2 large eggs, 107g
1 1/4 cups cranberries, 125g
1/2 cup minus 1 tbsp water, 100g
2 tsp vanilla extract

Ganache Frosting:
510g / 17.9oz / 2 3/4 cups semisweet chocolate pieces or chocolate chips
510g / 17.9oz cream OR for dairy free: 370g / 13 oz coconut milk (see note)


Directions:

  1. Preheat the oven to 350F / 175C. Grease a 9-inch (23 cm) cake tin with oil (one that is at least 2 inches or 5 cm tall). Use a cake tin with removable sides. If you do not have one, you can just use a regular cake pan, but you will need to serve the cake from that dish since it will not be easy to remove.

  2. Add the fresh (or frozen and thawed) cranberries to your food processor and pulse (or chop by hand) until they are roughly chopped and the size of the pieces vary (see video). Do not puree. If all of the cranberries are too small, the flavor will not come through in the cake. Set aside.

  3. In a medium sized bowl whisk together the dry ingredients. Sift your baking soda and cocoa if there are any lumps.

  4. In a large bowl whisk together the wet ingredients, adding the cranberries last.

  5. Add one third of the flour mixture to the wet mixture. Give it a couple of folds with a spatula before adding half of the remaining flour. Give the batter a few more turns before adding the remaining flour. Stir just until the flour is incorporated. Do not worry if there are a few lumps.

  6. Pour the batter into the cake tin and bake for about 30 minutes or just until a knife inserted into the middle of the cake comes out with a few crumbs attached. Allow to cool completely in the tin.

  7. Once the cake is cool, make the ganache. Combine the chocolate pieces and coconut cream. Warm in a pan over low heat (stirring continuously) or in 30-second increments in the microwave, stirring thoroughly between heating. Heat just until the mixture is completely melted and smooth, and until it is fairly warm to the touch (see note).

  8. Pour about two thirds of the mixture over the cake, reserving the rest for another use (see note). Allow the cake to set for a couple of hours before serving.

Optional:  Serve with whipped cream or whipped coconut cream. 


Notes:

  • Dairy free: This cake is excellent dairy free. Surprisingly you cannot taste the coconut in the chocolate ganache. I used Thai Kitchen coconut milk, which worked well.

  • Heating ganache: If your ganache isn’t warm enough it will not spread very well over the cake. In this recipe's video demonstration the ganache had actually cooled a little too much, leaving a few ripples on top of the cake (since the chocolate was so thick from being slightly cooled). So, if you want a very smooth top, you need to have a runnier/warmer ganache heated to 90F to 110F (32C to 38C). Also, be very gentle when you stir and pour the ganache so as not to incorporate air bubbles.

  • Extra ganache: It is good to have extra ganache for two reasons. First, it is excellent with ice cream, made into chocolate milk, formed into truffles, or just enjoyed as-is. Secondly, if you are making this cake a day or two ahead (it is a great make-ahead cake because it stays moist) you can add an extra thin layer of ganache on top if needed. For instance, the first time I made this cake I stored it in the fridge. While this is not recommended since cold and ganache do not generally mix, I did it anyway. Despite, careful storing, some condensation formed on the top of the cake making the ganache look splotchy. So I just melted some of the leftover ganache (also stored in the fridge) and spread a thin layer over the top. It gave the cake a fresh shine, and because the ganache was a thin layer, it set within an hour.

Mincemeat Streusel Pie with Hazelnuts

What is it like?

- Fruity and packed with flavor

- A nice chewy texture

- Perfect with whipped cream or brandy butter

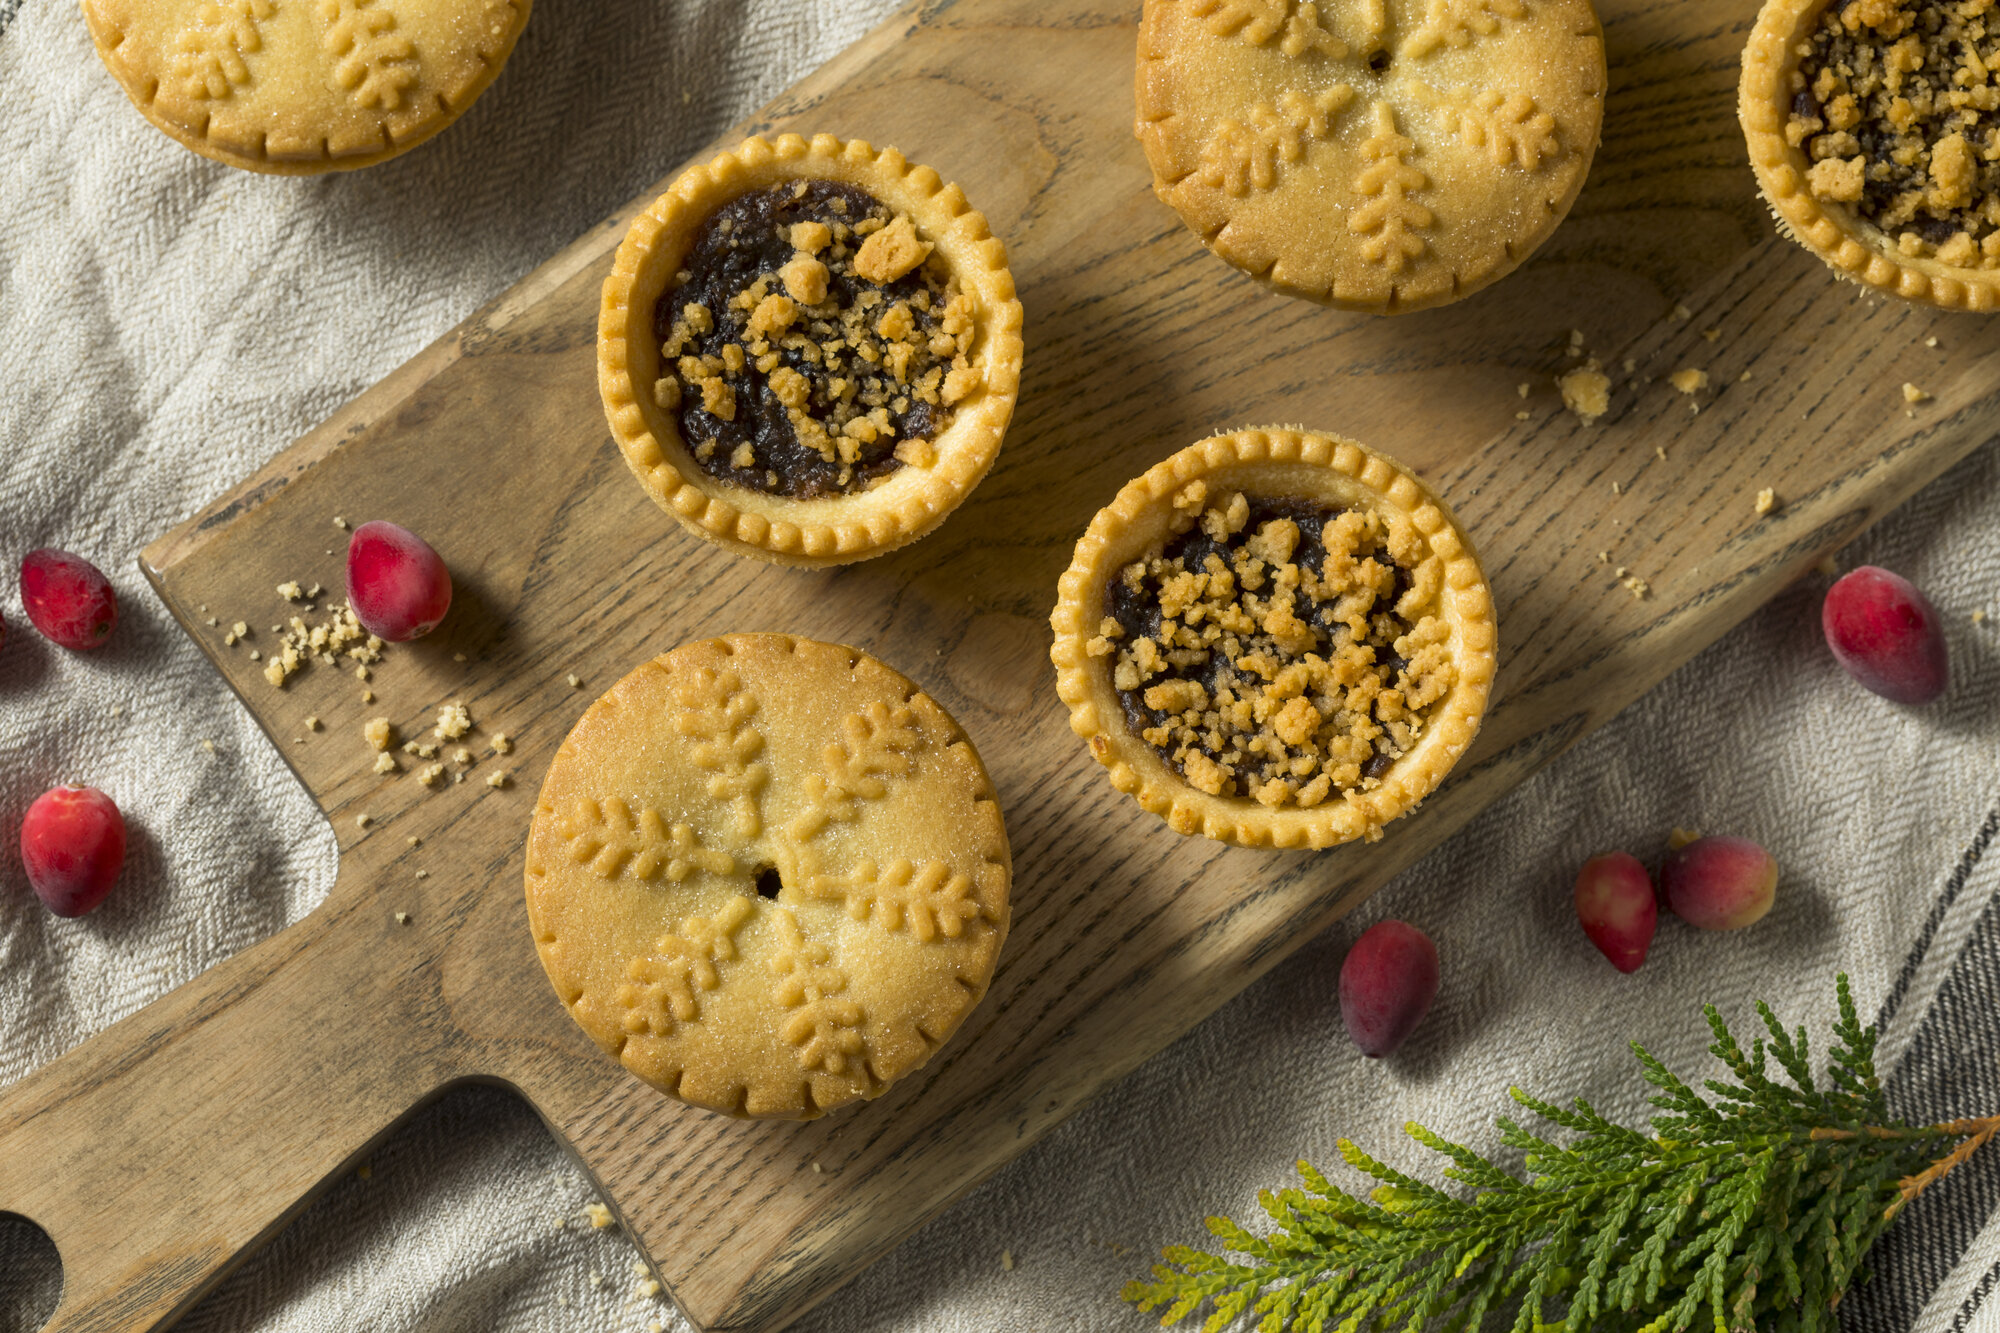
NOTE: the photo above is an adapted version of the recipe, made into tartlets instead of one larger pie. This is certainly an option for this recipe, just be sure to bake them for less time and remove them from the oven once they brown.

NOTE: the photo above is an adapted version of the recipe, made into tartlets instead of one larger pie. This is certainly an option for this recipe, just be sure to bake them for less time and remove them from the oven once they brown.


Recipe

Makes one 9-inch (25cm) tart; active prep 1 hour, cooling time 1 hour

For this recipe, you can mix and match the dried fruit as you like. Just keep in mind that you will change the flavor, but that can be part of the fun. If you don’t have dried cherries on hand, just use apricots or more dates. You can also substitute a lemon for the orange if that is what you have on hand. This dessert is perfect served with whipped cream or whipped coconut cream, as the richness balances the intense flavors of the fruit filling.

Crust
One foolproof tart crust

Mincemeat filling
1/3 cup currents, 50g
1/3 cup raisins, 50g
1/3 cup dreid cranberries, 50g
1/3 cup dreid cherries, 50g
8 small dates, chopped 50g
orange peel or mixed peel, 26g or about 2 tbsp chopped
1/3 cup hazelnuts, 40g
1 tart apple, peeled and chopped
1/3 cup brown sugar or coconut sugar, 60g
scant 3 tbsp butter or dairy free substitute, 36g
spices: 1/8 tsp cinnamon; 1/8 tsp nutmeg; 1tbsp cocoa powder (optional)
1 orange, zest plus 1 1/2 tbsp juice, 18ml
3 1/2 tbsp brandy or rum, 50ml

Topping
1/4 cup butter, 55g
2/3 cup flour mix, 85g
2 1/2 tbsp sugar, 30g
dash of salt


Directions:

  1. Follow the directions for one foolproof tart crust. There is no need to parbake the crust for this recipe, but if you’d like to, you can. Once you transfer the crust to the tart pan, use a knife to slice the crust 1/2 inch (1 1/4 cm) up from the bottom of the pan. In other words, the pie will only be 1/2 inch (1 1/4 cm) tall.

  2. Preheat the oven to 400F / 200C. While the crust chills, you can work on the filling. In a medium-sized saucepan, combine all of the ingredients, except for the brandy, and heat over low heat, stirring occasionally for about 10 minutes.

  3. Stir in the brandy. Place the filling in the fridge to cool. If you need it to cool quickly, put it in a thin later in a metal pan, such as a pie pan.

  4. For the streusel, topping mix together the softened butter, flour, sugar, and a dash of salt. If the butter is cold you can mix it in with your hands which will help soften it. Mix until you have a crumbly texture.

  5. To assemble, “pour" the mincemeat onto the tart crust. Sprinkle the streusel evenly over the top and bake for about 20-25 minutes, until the streusel starts to brown. Serve slightly warmed with whipped cream. Enjoy!


3-Ingredient Homemade Marzipan

What is it like?

- Full of almond flavor

- Not too sweet! (Less sweet than many recipes)

-Great for decoration

This is what marzipan looks like before it is rolled out or dyed.

This is what marzipan looks like before it is rolled out or dyed.

Marzipan is great for cake decorations

Marzipan is great for cake decorations

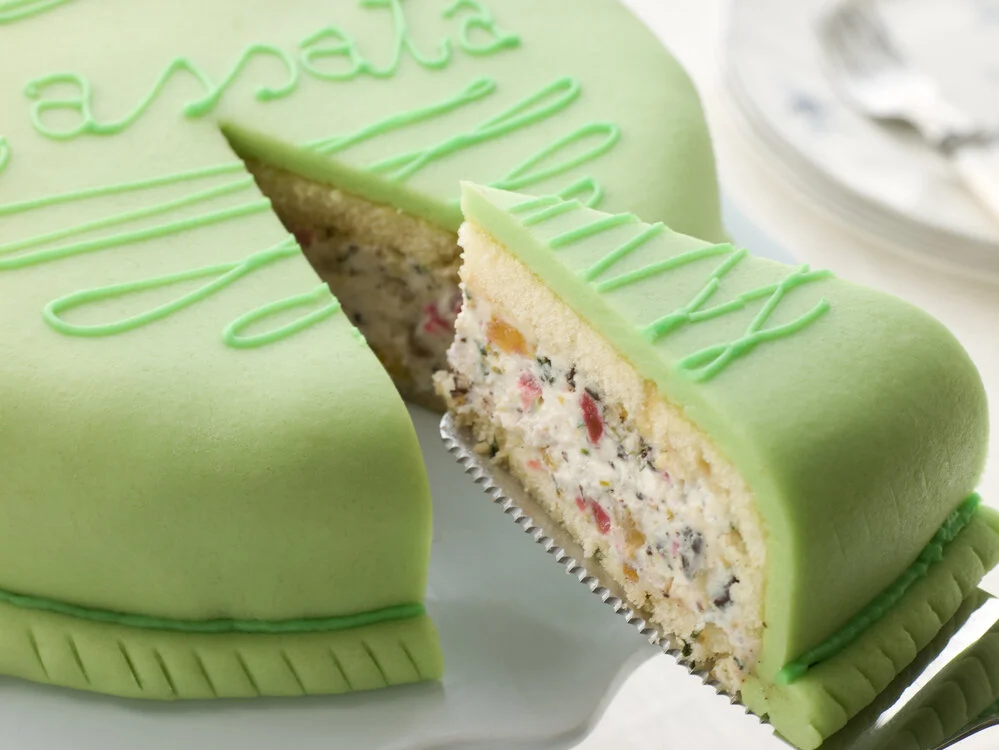
Marzipan can make a wonderful layer on a cake

Marzipan can make a wonderful layer on a cake

Marzipan is often added to stollen bread

Marzipan is often added to stollen bread


Recipe

Homemade marzipan is tender, rich, and full of almond flavor—nothing like that that dry fortified stuff you may have had from stores. It is used to cover cakes, as layers in pastry, you can make shapes out of it to decorate baked goods, and even put it in breads like that decadent German loaf, Stollen, eaten around the holidays (recipe here). Often marzipan is made using almond paste. However, almond paste is made from ground almonds, as is almond flour so you end up with the same result. In fact, I find that almond flour is generally less expensive and easier to work with than almond paste, so I stick to the following recipe.

Prep time: 10 minutes (or less!)

1 2/3 cup almond meal, 186g
1 1/2 cups powdered sugar, 190g
1 egg white (see note)
1 tsp vanilla (or 1 tsp orange blossom water), optional


Directions:

  1. Place all of the ingredients in the food processor. Mix until a dough forms. You can give it a few turns with your hands to make sure it is amalgamated.

  2. Place in an airtight container until ready to use. Keep in the fridge if you are not using it soon.

Notes:
Keep in mind that some recipes call for using the marzipan without baking it. In these cases, the egg white does not get cooked. If you are concerned about eating raw egg, be sure to use pasteurized egg whites.

No Fail Pie or Tart Crust (vegan option)

What is it like?

- Crisp & Buttery

- Only 2 flours

- Great for savory dishes too - just omit the sugar!

No Fail Pie shell or Tart Crust vegan gluten free dairy free recipe

Recipe

With one optional chill time, this crust is quicker and simpler to make than a standard shell. And it is so tender and delicious that you would never know there were any shortcuts. It is one of my favorites.

One 9 or 10-inch pie or tart (23-25 cm), prep 20 min

Ingredients

1 1/4 cup oat flour, 115g
3/4 cup almond flour, 75g
2 tablespoons powdered/icing sugar
¼ teaspoon salt
¼ cup melted butter (see note for dairy free)
1 egg or 4-6 tbsp ice water


Directions:

  1. Note, for a savory pie, cut the sugar in half. In a food processor mix together the flours, sugar and salt.

  2. Add the melted butter and blend until it looks like fine bread crumbs. Add the egg (or ice water) and mix just until a dough is formed. If the dough is on the dry side that is fine.

  3. Press it into a tart pan and chill for a minimum of 20 minutes (this chill time is optional but achieves best results). Preheat the oven to 350F / 175 C. Note that this crust, unlike others, can be baked in a non-metal pan. Because of the lower fat content, it does not have to heat up quickly to achieve a tender crust. Follow your pie or tart recipe as directed. Also, dock the crust before par-baking.

Notes:
You can substitute Miyoko’s vegan spread or coconut oil for a dairy free version which is delicious. 


Eclairs with a Chocolate "Ganache" Topping

What are they like?

- Packed with pastry cream

- Chocolaty

- Not too sweet! (European style)

Eclairs choux pastry pastry cream gluten free dairy free recipe
 

Recipe

Eclairs are a wonderful treat and surprise everyone when they are homemade. They are made from pate a choux and pastry cream, each of which are used for so many other desserts, so it’s a great one to have under your belt. Now you may be wondering about the long directions, but rest assured, I included more detail than necessary so that you end up with an exquisite dessert. And, if you’d like learn more about Eclairs, here is a podcast episode all about them.

Makes 8 large eclairs, active prep 30 minutes divided, passive 1 hour chill/bake


Pastry Cream (also known as Creme Patissiere)
1 cup milk, 218g (see note for dairy free substitutions)
1/4 cup sugar, 54g divided
2 large egg yolks, 33g
2 tbsp cornstarch, 14g
1 1/2 tbsp salted butter, 19g
1 tsp vanilla (or preferred flavor)

Choux Pastry
1/2 cup water, 112g
1/4 stick unsalted butter, 57g
1/2 cup flour blend, 64g
1 1/2 tsp sugar, 8g
1/8 teaspoon salt
1/8 tsp psyllium husk powder or xanthan gum
2 large eggs, 104g

Chocolate Glaze
4 oz dark chocolate, chopped (or preferred chocolate)
5 tbsp unsalted butter (or dairy free substitute)


Directions:

  1. Begin with the pastry cream so that it has time to cool in the fridge. In a small sauce pan, heat the milk and half of the sugar stirring occasionally so it doesn’t burn. Heat the milk until it is scalding and bubbles form around the edges. If it boils, that is okay, just continue with the recipe.

  2. While the milk heats, whisk together the eggs, remaining sugar, and cornstarch. Once the milk is ready, drizzle it into the egg mixture in a thin stream while whisking the eggs mixture continuously. (You can place the egg bowl on a towel to keep it from sliding.)

  3. Return the mixture to the sauce pan and bring to a boil over medium low heat, mixing continuously to prevent the eggs from getting lumpy.

  4. Once the mixture thickens, continue to cook until the mixture boils and then cook for another 30-60 seconds while whisking. To tell if the it is boiling stop mixing for a second to see if the mixture "burps".

  5. Pour the custard into a bowl and stir in the butter and vanilla. Put plastic wrap or parchment paper directly on the surface to prevent a skin from forming. Place in the fridge to cool. (*See note for quick cooling)

  6. For the choux pastry: preheat the oven to 400 F / 200 C. In a saucepan heat the water and butter over medium heat until it boils, stirring occasionally.

  7. While the butter and water heat, mix together the flour, sugar, salt, and psyllium in a bowl.

  8. Once the butter and water boil, dump in the flour mixture and stir with a spoon. It will start to form a ball of dough, but keep stirring for a few minutes over medium heat until the mixture looks a little oily and forms a film on the bottom of the pan. If you have an instant read thermometer, I recommend sticking it into the middle of the dough and taking the mixture off the burner once it reaches 140-150 F / 60-65 C.

  9. Place the dough in a mixer and mix on low speed until it is warm to the touch. Add the eggs one at a time, making sure to thoroughly mix in the egg before adding the second egg.

  10. Place the mixture in a piping bag fitted with a 1/2 inch (1 cm) piping tip. Or a thick sandwich bag with the corner cut off works just fine too. On a lined or greased baking tray, pipe about 8 eclairs about 3/4 inches wide (2 cm) and 3 1/3 inches (9 cm) long. The end of the eclairs will have a “tail” where you pull the piping bag away. After you pipe, simply wet your fingers and press the bumps down so the eclairs are uniform.

  11. Bake for 15 minutes and do not open the oven door. Opening the door can cause them to collapse. After 15 minutes, keep the oven door closed but turn the oven down to 300 F / 150 C and bake for 15-20 minutes. Take the eclairs out and carefully slice them in half. Return them to the oven for about 5-10 minutes and bake just until the inside feels dry/cooked and not gummy. Allow them to cool completely. They will be crispy at this stage, but they will soften once they are filled with the moist pastry cream.

  12. Prepare the chocolate glaze by putting the chocolate and butter in a heat proof bowl. Microwave for 30 seconds. Allow to sit for a minute and then stir. Repeat the process once more if necessary until you have a smooth consistency, being careful not to overheat the chocolate.

  13. Once the choux is cooled you can either spoon or pipe the cold pastry filling into the larger half of each choux bun. Dip the other half of the choux, in the chocolate and place on top. It’s a matter of personal taste, but I think eclairs are best once the choux softens which can take a couple of hours to one day, which makes for excellent leftovers. Store them in the fridge and enjoy!

Notes:

  • Substitutions: This recipe is delicious dairy free. I have tested unsweetened soy milk and it works quite well. For the butter you can also use a dairy free option. If you need to replace the cornstarch, you can try using sweet rice flour. Some people use tapioca starch but I have found it to add a slight slimy texture which I’m not crazy about. Alternatively, you can try a recipe that calls for whole eggs. The egg whites act as the thickener.

  • Quick cooling: If you need your pastry cream to cool quickly, you can place it in a thin layer in a metal pie pan. The thinner the layer, the quicker it will cool. Just be sure to cover the surface. You can even give it a 10-20 minutes cooling boost in the freezer before putting it in the fridge. Just keep an eye on it to be sure it doesn’t freeze.