3-Ingredient Crispy Vietnamese Crepes (vegan option)

What are they like?

-Deliciously crisp

-Filled with your favorite filling, or an option below

Gluten free dairy free vegan 3-Ingredient Crispy Vietnamese Crepes Recipe
 

Recipe

This recipe is called Banh Xeo in Vietnamese and I love it. These crepes are deliciously crisp and the batter keeps in the fridge for whenever you would like a fresh batch. The recipe below is an adaptation from The Gluten Free Asian Kitchen cookbook. Traditionally the batter has ground turmeric in it, but instead I opted for ground fennel as I love the subtle, nutty flavor.

If you would like to learn more about how to make this recipe, it is featured in this episode. If you would like a vegetarian option, here is a Spicy Chickpea & Potato Curry (vegan), which makes a great filling.

Crepes
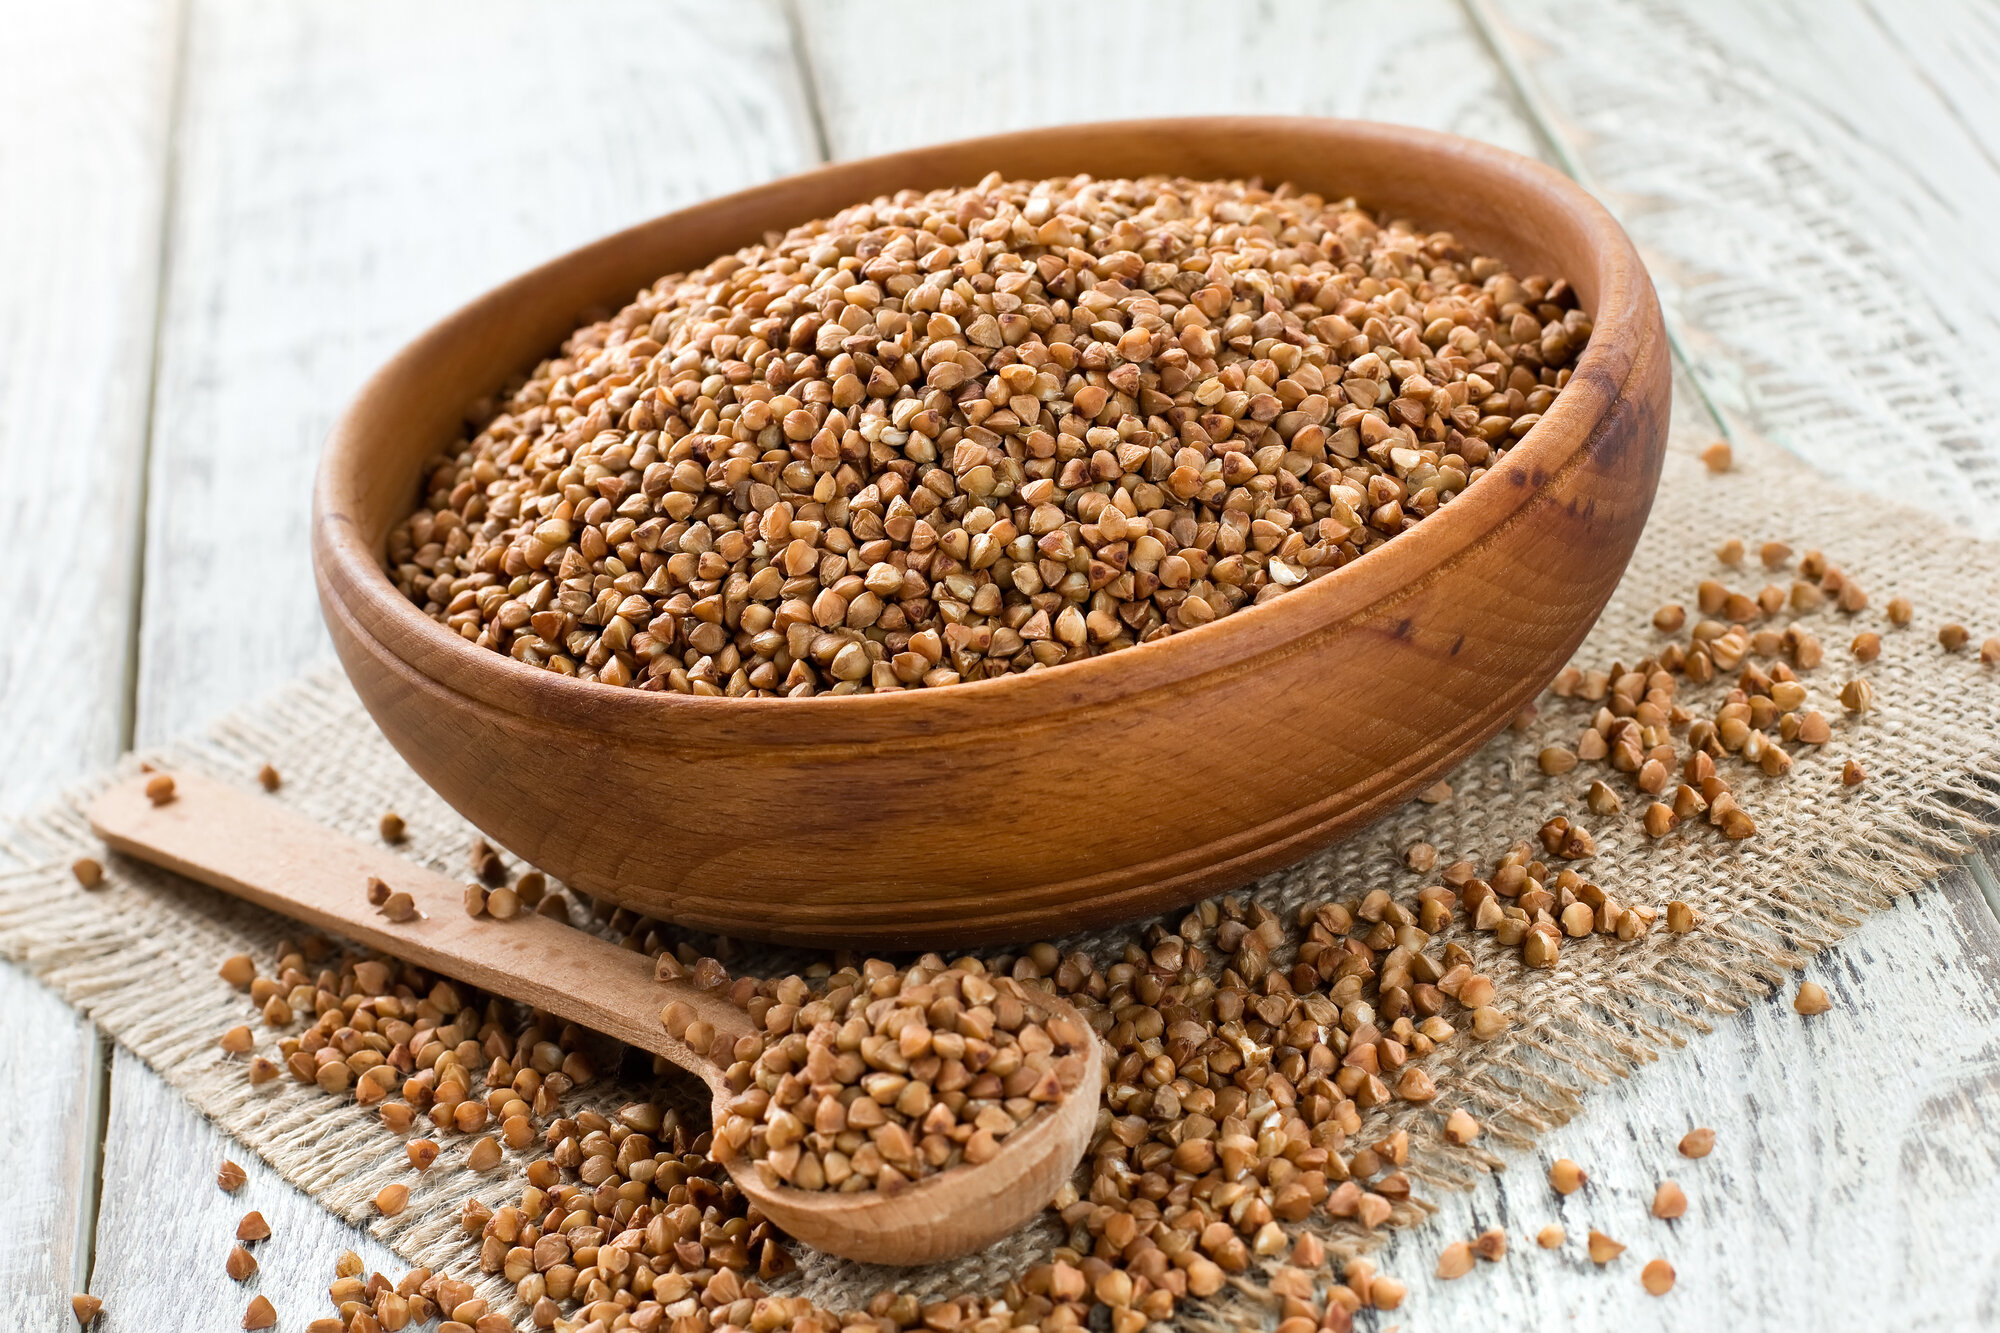
1 1/2 cups white rice flour
1/3 cup coconut milk 
1 1/4 tsp salt 
Optional: 1 tsp ground fennel (see note)

Filling, optional
1 large pork chop 
12 shrimp (cleaned, no shells) - optional 
1 cup mung beans, cooked 
1 garlic clove 
3 green onions
8 oz mung bean sprouts 
1 cup fresh mint leaves 
1 cup fresh cilantro leaves (or basil) 

Directions:

  1. For the crepes: place all of the ingredients in a bowl and add 2 cups of water. Whisk thoroughly. Allow to rest while you cook the filling. 

  2. Cook the mung beans. Follow the instructions the package. 

  3. Slice the pork into thin bite-sized pieces. Slice the green onions, keeping the white part separate. Chop or crush the garlic. 

  4. Place a large nonstick pan (like a 10” cast iron) over medium high heat. Add 1 1 /2 tsp of oil and add the pork and white part of the green onions. Turn the heat down to medium and let it brown for two minutes. Then stir the pork and add the shrimp and crushed garlic. Cook for about two minutes or until the shrimp is no longer translucent. Set the filling aside. 

  5. Add 1 1 /2 tsp of oil to coat the bottom of the pan. Pour in 1/2 cup of the crepe batter and swirl immediately to spread the filling around the pan. Cook over medium heat for 5 minutes. Then add a few pieces of pork, a couple shrimp, a couple spoonfuls of mung beans, and a large handful of spouts to half of the crepe, making sure the ingredient are spread out on one half of the crepe. Cook until the bottom of the crepe is crisp and add a dash of salt. Then add a handful of herbs and green onions and fold the crepe in half, and serve!  

  6. Traditionally this crepes is served with Nouc Cham sauce but I prefer garlic yogurt. Simply stir some some crushed garlic into yogurt to taste. This works for vegan yogurt as well! Or instead of garlic, add lemon juice and chopped dill to the yogurt and stir. 

Notes:

  • Traditionally this recipe called a dash of turmeric. Feel free to omit or replace ground fennel with a dash of another spice. 

Spicy Chickpea & Potato Curry (Vegan)

What is it like?

-Packed with spices & herbs

-Cooked in a creamy Coconut-Cashew Sauce

Gluten free dairy free vegan Spicy Chickpea & Potato Curry Recipe
 

Recipe

This recipe was inspired by chana masala, although it is milder and the spices and herbs are different. However, it does have a similar texture to chana masala as the potatoes and chickpeas are cooked in a creamy coconut cashew sauce. It can be eaten with pilaf, flatbread, or with a Vietnamese Crepe. If you would like to learn more about how to make Vietnamese Crepes, they are featured in this episode.


Puree
1 bell pepper
4 carrots
1/2 onion
1 13-oz can coconut milk (I prefer Thai Kitchen) 
1/3 cup cashews 

Stew
1 tbsp paprika 
3/4 tsp black pepper 
1 tsp fennel
1/2 tsp salt, plus more to taste if needed
3 tbsp low sodium tamari 
1/2 tsp oregano 
4 sprigs fresh thyme or 1 tsp dried thyme 
1 1/2 lbs potatoes 
Optional, 2 tbsp white wine 

Add at the end
1 13-oz can garbanzo beans 
1 lemon, zest plus 2 tbsp juice 
1/2 cup parsley, chopped (see note) 

Directions:

  1. Roughly chop the carrots, onion, and bell pepper into 1-inch sized pieces. Puree the chopped vegetables, coconut milk, and cashews in a large blender or food processor. Add up to 1/4 cup water if needed. 

  2. Place the puree in a 2-quart or medium sized pan with a lid. Add all of the ingredients from the “stew” list and simmer, stirring occasionally, until the potatoes are cooked, about 20 minutes. Be sure to scrape the bottom of the pan when you stir to prevent a layer from forming. If you would like this recipe to be accompanied by rice, begin cooking the rice now. 

  3. Add the canned garbanzo beans, lemon juice, zest and parsley. Salt to taste. 

Notes:

  • Since this dish simmers for a long time, you can used the parsley stems as well as the leaves. They will soften and add a lovely flavor. 

  • Spice: this dish calls or an unusual amount of black pepper, but I like the flavor and spiciness that it imparts. Add less pepper if you are hesitant and just spice to taste at the end. 

Chocolate Chip Cookies

What are they like?

-Crisp on the outside & Chewy on the inside

-Packed with Chocolate Chips

the best dairy free gluten free chocolate chip cookies
 

Recipe

This is an adaptation of the chocolate chip cookie recipe from Gluten-Free Baking Classic. This version is dairy free, gum free, and it makes classic chocolate chip cookies, crisp on the outside and chewy on the inside. If you would like some tips for this recipe (or how to make the perfect cookie), you are welcome to listen to the accompanying podcast or check out the show notes. 

Dry
1 cup gluten free flour, 130g
3/4 tsp baking soda, 5g 
1/2 tsp salt, 3g
1 tsp psyllium husk powder, 4g

Wet
1/2 cup coconut blend (see note) - or you can use butter
1/2 cup sugar, 105g
1/4 cup brown sugar, 40g, do not pack
1 egg, 54g 
2 tsp vanilla 

Additions
3/4 cup chocolate chips , 150g
1/2 cup walnut pieces (optional)

Directions:

  1. Place all of the flour, baking soda, salt and psyllium powder in a bowl and whisk thoroughly to combine. 

  2. Warm the coconut oil over low heat until quite warm to the touch or use the microwave. Then add the sugar and whisk well to incorporate. The mixture should now be warm but not hot (or it can cook the egg). Whisk in the egg, followed by the vanilla. 

  3. Add the dry mixture to the wet. Once the flour is almost mixed in, add the walnuts and chocolate chips and stir only until incorporated. Place in the refrigerator overnight. This step can be skipped if you’d like to bake them right away.  

  4. Remove from fridge 2 hours before baking to allow the dough to come to room temperature. Preheat the oven to 350F / 175C. Bake for 8 minutes or just until the edges are golden and the middle has lost its sheen. Cool on tray for at least 10 minutes before transferring. Once cooled, store in airtight container.

    Enjoy! 🙂

Notes:
Coconut blend: the best butter substitute that I have come up with for cookies is a ratio of 7 tablespoons coconut oil mixed with 1 tablespoon coconut milk. Now, if you do not have coconut milk on hand, just use two teaspoons of water instead. Furthermore, if you do not have coconut oil on hand, you can substitute 84g (about 1/3 cup) of sunflower oil mixed with 2 teaspoons of water. Just note that a runny vegetable oil will not yield the same result. The cookies will still be delicious but they will not be as chewy and they will not stick together as well, so make sure you let them rest after they are baked. 

Bake time: It is important to be very particular about bake time for cookies. They can go from perfectly baked to over-baked in about 1-2 minute. Although freshly baked cookies are certainly still delicious even when over-baked, if they are taken out of the oven on time (and stored properly) they will stay tender and chewy for couple of days. However, if you prefer them to be crunchy all the way through, give them an extra minute or two. If you prefer them to be chewy take them out just when the middle has lost its sheen. 

Chocolate Cake with Ganache Frosting + Video

What is it like?

- Super chocolaty

- Perfectly balanced with a hint of fruity cranberries

- Classy frosting which takes less than 5 minutes to make!

 
Note: The recipe below is for one layer of cake. If your’e feeling ambitious, you could slice the cake in half and fill it with ganache or jam (example above). Or, if you have made this style of cake before and have a very tall cake pan, you could b…

Note: The recipe below is for one layer of cake. If your’e feeling ambitious, you could slice the cake in half and fill it with ganache or jam (example above). Or, if you have made this style of cake before and have a very tall cake pan, you could bake two layers and then stack them. However, I recommend starting simple — You will be amazed to have made such a classy, homemade cake!


Recipe

This cake is moist and light. It’s bursting with chocolate flavor which is balanced by the fruitiness of the cranberries. In my book, it’s good for just about any occasion. And the frosting, with its classy look, could not be simpler.

Makes one 9-inch round cake or one 8 x 8 inch cake. This recipe can be used to make cupcakes or whoopee pies.


Dry
dry 1 cup flour mix, 130g
1/4 cup plus 2 tbsp cocoa powder, 32g (see note)
1 tsp baking soda
2 1/2 tsp psyllium husk powder or 1 1/2 tsp xanthan gum
1/4 tsp sea salt

Wet
scant 3/4 cup sunflower oil or olive oil, 157g
1 cup plus 2 tbsp sugar, 263g
2 large eggs, 107g
1 1/4 cups cranberries, 125g
1/2 cup minus 1 tbsp water, 100g
2 tsp vanilla extract

Ganache Frosting:
510g / 17.9oz / 2 3/4 cups semisweet chocolate pieces or chocolate chips
510g / 17.9oz cream OR for dairy free: 370g / 13 oz coconut milk (see note)


Directions:

  1. Preheat the oven to 350F / 175C. Grease a 9-inch (23 cm) cake tin with oil (one that is at least 2 inches or 5 cm tall). Use a cake tin with removable sides. If you do not have one, you can just use a regular cake pan, but you will need to serve the cake from that dish since it will not be easy to remove.

  2. Add the fresh (or frozen and thawed) cranberries to your food processor and pulse (or chop by hand) until they are roughly chopped and the size of the pieces vary (see video). Do not puree. If all of the cranberries are too small, the flavor will not come through in the cake. Set aside.

  3. In a medium sized bowl whisk together the dry ingredients. Sift your baking soda and cocoa if there are any lumps.

  4. In a large bowl whisk together the wet ingredients, adding the cranberries last.

  5. Add one third of the flour mixture to the wet mixture. Give it a couple of folds with a spatula before adding half of the remaining flour. Give the batter a few more turns before adding the remaining flour. Stir just until the flour is incorporated. Do not worry if there are a few lumps.

  6. Pour the batter into the cake tin and bake for about 30 minutes or just until a knife inserted into the middle of the cake comes out with a few crumbs attached. Allow to cool completely in the tin.

  7. Once the cake is cool, make the ganache. Combine the chocolate pieces and coconut cream. Warm in a pan over low heat (stirring continuously) or in 30-second increments in the microwave, stirring thoroughly between heating. Heat just until the mixture is completely melted and smooth, and until it is fairly warm to the touch (see note).

  8. Pour about two thirds of the mixture over the cake, reserving the rest for another use (see note). Allow the cake to set for a couple of hours before serving.

Optional:  Serve with whipped cream or whipped coconut cream. 


Notes:

  • Dairy free: This cake is excellent dairy free. Surprisingly you cannot taste the coconut in the chocolate ganache. I used Thai Kitchen coconut milk, which worked well.

  • Heating ganache: If your ganache isn’t warm enough it will not spread very well over the cake. In this recipe's video demonstration the ganache had actually cooled a little too much, leaving a few ripples on top of the cake (since the chocolate was so thick from being slightly cooled). So, if you want a very smooth top, you need to have a runnier/warmer ganache heated to 90F to 110F (32C to 38C). Also, be very gentle when you stir and pour the ganache so as not to incorporate air bubbles.

  • Extra ganache: It is good to have extra ganache for two reasons. First, it is excellent with ice cream, made into chocolate milk, formed into truffles, or just enjoyed as-is. Secondly, if you are making this cake a day or two ahead (it is a great make-ahead cake because it stays moist) you can add an extra thin layer of ganache on top if needed. For instance, the first time I made this cake I stored it in the fridge. While this is not recommended since cold and ganache do not generally mix, I did it anyway. Despite, careful storing, some condensation formed on the top of the cake making the ganache look splotchy. So I just melted some of the leftover ganache (also stored in the fridge) and spread a thin layer over the top. It gave the cake a fresh shine, and because the ganache was a thin layer, it set within an hour.

Whole Grain Fig & Almond Hot Cross Buns (1-Bowl)

What are they like?

- Moist & Light Rolls

- Filled with your choice of filling: Fig & Almond OR Cherry and Ginger

Photographed above are an example of fairly traditional hot cross buns. The recipe below is Whole grain (brown rice and buckwheat) so they are darker in color. The whole grain dough is also thinner than a traditional bun so they are baked in a muffi…

Photographed above are an example of fairly traditional hot cross buns. The recipe below is Whole grain (brown rice and buckwheat) so they are darker in color. The whole grain dough is also thinner than a traditional bun so they are baked in a muffin tin to hold a nice shape.

Buckwheat groats pictured above which, despite the name, are naturally gluten free

Buckwheat groats pictured above which, despite the name, are naturally gluten free


Recipe

Makes 10 buns (in a regular sized muffin pan)

Dry
3/4 cup flour mix 100g
2/3 cup buckwheat, 103g
1/3 cup tapioca flour/starch, 40g
1 tsp pumpkin pie spice or British mixed spice
1/2 tsp salt 4g
1 1/2 tsp psyllium husk powder, 6g
1 1/8 tsp instant yeast, 4g

Wet
2 tbsp olive oil, 26g
1 large egg
2 tbsp maple syrup, 30g
1 cup warm water, 236ml/g

Additions (optional)
Flavor 1: 1/3 cup cranberries + 3 tbsp crystallized ginger, diced finely
Flavor 2: 1/3 cup diced figs + 1/4 cup slivered almonds + zest of 1 orange

Icing
1 cup powdered sugar
about 1 tbsp water


Directions:

  1. Whisk the dry ingredients together in a large bowl or in the bowl of a standing mixer with the paddle attachment. Add the wet ingredients and mix on low until amalgamated. Mix on medium speed for about one minute. The dough will be very wet.

  2. Next, mix in the dried fruit (optional). Scoop the dough into a muffin tin or whoopee pie tin. Fill each mold a little over half full so that there is plenty of space for the rolls to rise—and they rise a lot!

  3. Allow to rise until at least doubled in volume. Preheat your oven to 350F / 175C. If using a muffin tin, bake for 25 minutes, or until the tops just begin to brown. If you’re using a whoopee pie tin, the rolls will bake for less time, about 20 minutes because they are smaller.

  4. Allow to cool completely. Then mix together the powdered sugar and just enough water to make a thick drizzle (it should coat the spoon generously). Place the mixture in a piping bag or you can make your own (see note). With the icing, make a cross pattern going all the way across the buns. Allow the icing to set and then serve warm or place in an airtight container. I give them a short zap in the microwave before serving. Enjoy!


Notes:

  • If you prefer to try a savory version of this recipe, you can leave out the dried fruit and frosting and just add a few tablespoons of sunflower seeds and flaxseeds to the dough. Also put a few seeds on top of each roll before baking, and gently press them onto the dough.

  • You can make your own piping bag from a sandwich bag or parchment paper. Alternatively, you can just dollop some icing on top of the buns with a spoon.