Cranberry & Grapefruit Tart with Rose water (optional)

What is it like?

- Fruity and full of flavor

- Silky smooth

- A professional look

NOTE: the photo above is an adapted version of the recipe. The recipe below is for a full size tart and it has a beautiful pink color. If you’d like a deep “cranberry color”, you can add a drop of red food coloring. And, If you like, you can also ma…

NOTE: the photo above is an adapted version of the recipe. The recipe below is for a full size tart and it has a beautiful pink color. If you’d like a deep “cranberry color”, you can add a drop of red food coloring. And, If you like, you can also make tartlets, just keep in mind that the bake time will be shorter than a large tart because they are small.


Recipe

Makes one 10 inch (25cm) tart; active prep 1 hour, cooling time 2 1/2 hours

Ingredients

1 tart shell (recipe here)
12 oz cranberries, fresh or frozen
Juice and zest from one grapefruit (about 1/4-1/2 cup juice)
1/4 cup water, 59ml
3/4 cup sugar, 172g (measure cups to check g)
3 large eggs
2 egg yolks
8 tbsp butter or Earth Balance spread, 113g

Optional: 1 tsp rose water or orange blossom water


Directions:

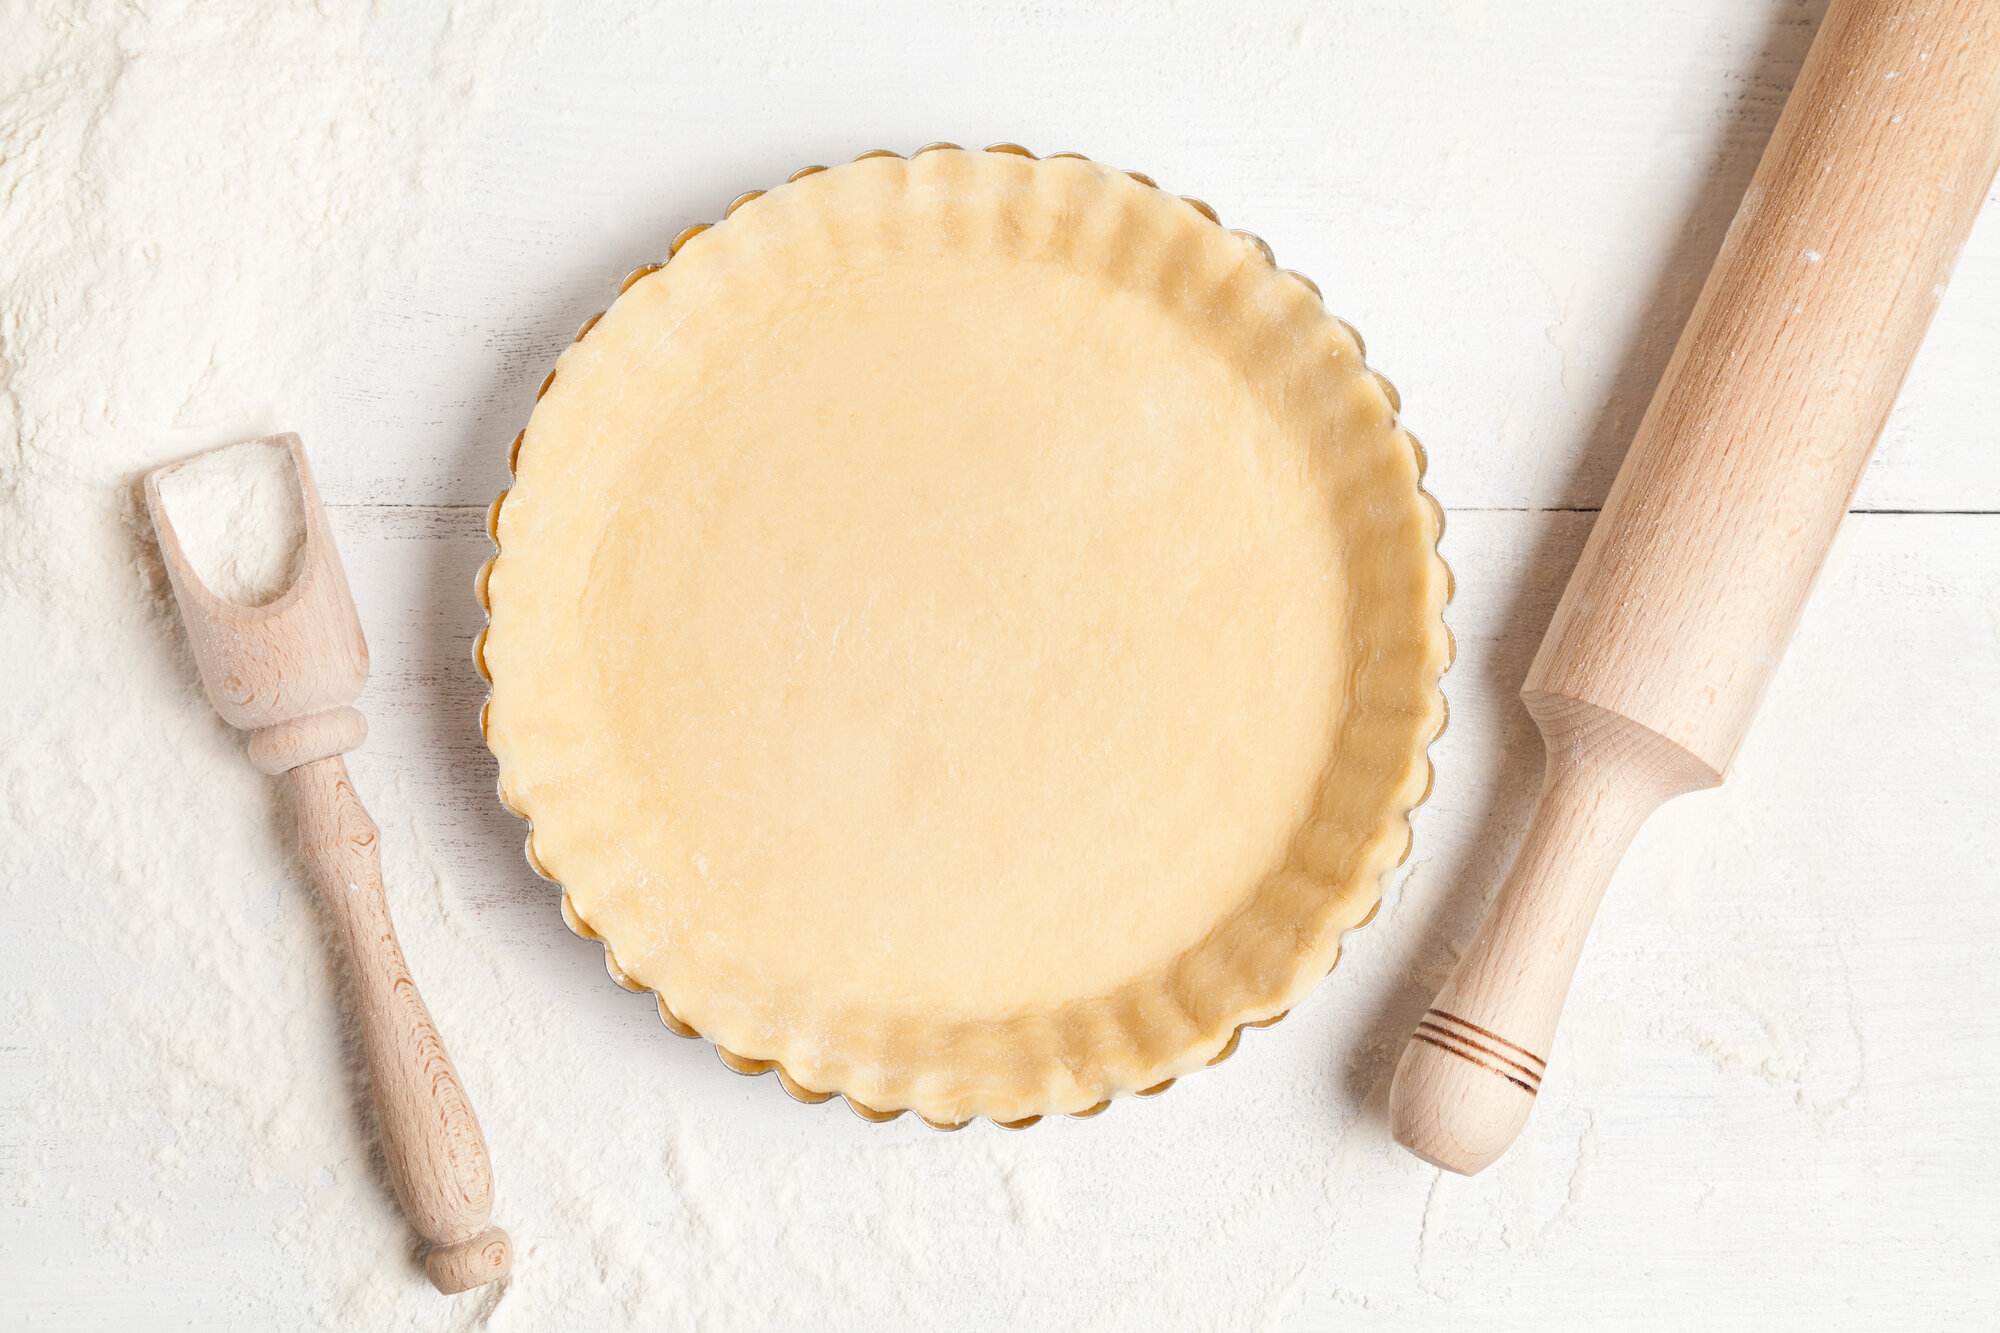
  1. Prepare a 9 or 10-inch (23-25cm) tart crust and bake until it is just beginning to darken and turn tan on the edges. The tart crust can bake while you prepare the filling.

  2. Zest and juice the grapefruit.

  3. Heat the cranberries, sugar and 1/4 cup of grapefruit juice in a pan over medium heat until all the cranberries pop and the mixture softens, about 10 minutes. Strain the mixture, pressing it with a spoon to extract as much juice/puree as possible. The liquid should measure 1 cup—if needed add more grapefruit juice to make 1 cup of liquid. (You can reserve the sweetened cooked cranberries to use in scones, bread, or as a jam.)

  4. Next, stir in 1/4 cup water. Once the mixture is slightly cooled, warm and not hot, whisk in the eggs and zest. If the mixture is hot, allow it to cool for 5-10 minutes before whisking in the eggs.

  5. When the tart shell is done par-baking, preheat the oven to 325F / 165C.

  6. Heat the egg mixture over medium low heat, stirring constantly with a heat proof spatula until it reaches 165F / 74C on an instant read thermometer. Strain the mixture and stir in the rose water (if using) and butter. Allow the mixture to cool for 10 minutes.

  7. Ideally, the tart shell is just coming out of the oven after the filling is cooled, so that once the mixture is poured in, it starts to cook and has less of an opportunity to seep into the crust. If the tart is already par-cooked and cooled, put it back into the oven for a few minutes just until it is hot. Then pour the mixture into the prepared tart. Bake until the middle section is jello-like when the tart is jostled. Allow the tart to cool at room temperature and then place it in the fridge for 2 hours before serving.

  8. This tart is delicious with a dollop of whipped cream or whipped coconut cream.


Notes:
Another way to experiment with flavor for this recipe is to leave out the rose water and to substitute 1/4 cup of Chambord for the 1/4 cup of water. This liquor is a subtle but delicious addition.

This tart has a nice sour kick, like lemon bars. If you prefer it to be mellower, as I do, without filling the dessert with more sugar, simply let the tart sit in the fridge for a day or two. It keeps for several days, and I think it gets better as it ages. The tart shell will soften by the next day, which I think is a nice variation to the crispy tart shell that most of us expect.

Chocolate Ganache Tart with a Cranberry Swirl

What is it like?

- Rich & chocolaty

- Silky smooth

NOTE: the photo is a plain chocolate tart. The cranberry swirl is optional but delightful!

NOTE: the photo is a plain chocolate tart. The cranberry swirl is optional but delightful!


Recipe

Makes one 9-10 inch tart, prep 1 hour 20 minutes

The filling for this recipe was adapted from Mary Berry’s chocolate orange tart recipe. You may be familiar with her from the Great British Baking show. She is an amazing baker and I find her recipes so inspiring.

DAIRY FREE OPTION: You can replace the butter in this recipe with a dairy free substitute. I tested Miyoko’s, which I bought at Trader Joe’s, and it worked perfectly.

Chocolate filling
1/4 cup plus 1/2 tbsp butter, 76g
4 oz dark chocolate, 115g, finely chopped (around 63% works fabulously)
1/2 cup plus 1 tbsp organic cane sugar, 115g
1/3 cup flour blend, 45g
4 large eggs

Cranberry filling (optional)
1/2 stick butter, 52g
Scant 1/2 cup organic cane sugar, 50g (regular white sugar works fine too)
3 tbsp flour blend, 22g
1/3 cup fresh cranberries, 50g
zest of one large orange (or grapefruit for a different flavor!)
2 large egg yolks


Directions:

  1. Start by following the tart shell recipe. Note that the tart should be blind baking (or already blind baked) when you begin making the filling. Preheat your oven to 400F / 200C.
    For the chocolate filling: Add the chocolate and butter to a heatproof bowl. Heat in the microwave for 30 seconds. Stir until the chocolate is dissolved and the mixture is smooth. If you need to heat the chocolate more, do it in 20 second increments, stirring after heating.

  2. Whisk together the flour and sugar and stir it into the chocolate mixture. Next, stir in one egg at a time, adding the next egg once the mixture is homogenous.

  3. For the cranberry blend: heat the butter and cocoa butter in a heat proof bowl for 20 seconds. Stir until it is all melted and smooth. Next, stir in the sugar and then the flour.

  4. Using a knife, mince the cranberries so that they are in small pieces. Next, microwave or heat the cranberries until they are hot, and their juices are beginning to release. Zest a grapefruit and add the zest to the cranberries. Stir in the melted butter, sugar, and flour. Then stir in the egg yolks.

  5. Pour the chocolate filling into the tart pan. Next, pour or spoon the cranberry filling over the chocolate filling. Using a fork or skewer, move the cranberry filling around to form swirls. (It looks more beautiful after baking.)

  6. Bake the tart just until the edge is set (about 1 1/2 inches or 4 centimeters) around the pan. When jostled, the large middle part of the tart should have a very generous wobble. Do not bake it past this point or it will be rubbery. Do not worry, the middle will set once it cools. Allow the tart to cool and then enjoy! Store in the fridge for up to four days.


Note:
You can use fresh cranberries or frozen and thawed cranberries.

Foolproof Tart Shell (Crispy & Buttery, with a vegan option)

What is it like?

- Delicately crisp

- Buttery

- Great for savory dishes too - just omit the sugar!

Foolproof Tart Shell vegan gluten free dairy free recipe
 

Recipe

One 9 or 10-inch tart, prep 1 hours

Ingredients

3/4 cup flour mix, 100g
1/4 cup almond flour, 18g
2 tbsp powdered/icing sugar (13g)
1/4 tsp salt
1 stick butter, cold, 113g or vegan substitute (I used Miyoko’s)
4-6 tbsp ice water or 1 egg (see note)


Directions:

  1. For the tart shell. Chop the butter into eight pieces. Add the flour to the food processor along with all of the other ingredients, except the ice water or egg, whichever you are using. Process until the flour and butter mixture resembles fine bread crumbs. If you are using water, skip to the next step. Add the egg and process until a dough starts to form.

  2. (If you used an egg, skip this step.) Next add 4 tablespoons of ice water. Process once or twice. If a dough is still dry and not sticking together, add another tablespoon of water and process just until a dough forms.

  3. Work the dough very briefly on a floured surface, giving it just a couple of turns to ensure the ingredients are mixed together. The dough should look amalgamated and uniform in color. Shape it into a disk and place in the fridge to cool for at least twenty minutes.

  4. While the dough is cooling, preheat the oven to 400 F / 200 C.

  5. On a floured surface, roll the dough out to about 1/8 inch (3 -7 millimeters) thick. The thinner the better. Flour the top of the surface the rub a little flour on the rolling pin as well. Then use a spatula to slide the crust into a metal tart pan (see note). Lift the edges of the tart crust and set them into the “corners” of the tart pan, where the side meets the bottom. Do not squish it in with your fingers or the dough will tear and the butter will melt. Next, press the dough into the edge using your fingers and then use a knife to slice off the over hanging dough. I bake the extra dough in another pie pan as it makes a tasty snack!

  6. Blind bake the tart shell, by placing parchment paper over the shell, followed by about two cups of loose dry beans (or you can use pie weights). Bake for about 15 minutes, or until the crust is just starting to turn golden on the edges.

    Notes:

    When you bake a tart, make sure you use a metal tart pan. I like to use this carbon steel one because it is affordable, nonstick, and non-toxic. When I started baking tarts I used a ceramic tart pan until I realized it was heating up too slowly in the oven, causing all of the butter to run out of my pastry. All of the hard work for nothing. A ceramic tart pan is really best for tarts that have minimal butter/fat content in the crust.

Classic Brioche

What are they like?

- Tender & rich

- Good for, well, just about anything (savory or sweet!)

Gluten free dairy free classic brioche recipe
 

Recipe

About 12 Servings, Prep 20 min + 1.5 hours rising and baking

This recipe is slightly adapted from Authentic Foods to be dairy free. These buns can be used for sandwiches, paired with sweet fillings, or simply enjoyed warm with butter. The bread flour blend can be used to make host of other bread recipes, such as baguettes, pita bread, or bagels.

Dry
4 1/4 cups (588g) Authentic Foods Steve’s GF Bread Flour Blend (see note above)
5 tbsp (64g) sugar
1 1/4 tsp (6g) salt
1 packet (7g) instant yeast

Wet
1 1/2 cups (360g) warm water
1/2 cup plus 1 tbsp (104g) Earth Balance Buttery Spread, melted
6 tbsp (80g) olive oil
4 eggs, large


Directions:

  1. Combine the dry ingredients (flour, sugar, salt, yeast) in the bowl of the standing mixture.

  2. In a separate bowl, mix together the rest of the ingredients.

  3. Add the wet ingredients to to the dry and mix using a paddle attachment. Once the flour is incorporated, mix on medium-high speed for two minutes.

  4. Divide the dough into 12 pieces and shape them into domes.

  5. Cover with a flipped over baking tray (leaving space for them to rise). Alternatively, you can use a sheet of plastic wrap that has been sprayed with oil so it does not stick to the buns. Place the buns in a warm place and allow to rise until about double in volume, about 1 hour. If the dough bounces back very slowly when pressed, the buns are done proofing.

  6. While the buns rise, preheat oven to 350F/180C.

  7. Bake for about 20 minutes, or until they start to brown and an instant read thermometer inserted into the middle of the buns reads 190F/88C. Rotate halfway through baking.


Notes:

This dough is on the sticky side. To make it easier to work with, I often oil my hands. Or you can place it in the fridge overnight and work with it when it is cold. The rising period will just take longer (probably about three hours after it is shaped) because the dough will have to come up to room temperature before rising.

Elizabeth Gregory Donut Holes

Note:
Originally I made this recipe as regular doughnuts, but they are actually better as doughnut holes. They are a rich batter so a smaller serving is perfect. I hope you enjoy them!

What is it like?

- A tender, caky doughnut hole

- A time warp to 1850’s New England

Doughnut Hole gluten free dairy free recipe
 

Recipe

About 32 Servings, Prep 30 min

The title of this recipe is a reference to doughnut history. I talk about it in this episode. In a nutshell, no one knows where the doughnut hole came from, but Elizabeth Gregory did make an excellent doughnut, infused with spices for her son to take on voyages. However, if you want a classic/plain doughnut, simply omit the spices, nuts and zest and add 1 teaspoon vanilla.

Wet
3/4 cup Earth Balance Buttery Spread, at room temperature, 180g
1/2 cup sugar, 100g
2 egg
zest of 1 lemon (or 1 tsp vanilla if you prefer a classic flavor)

Dry
1 1/4 cup flour mix, 160g
1 1/4 cup almond four, 108g
2 tsp psyllium husk powder
1 tsp baking powder
1/2 tsp salt
optional spices: 1/4 tsp nutmeg + 1/4 tsp cinnamon

Topping
1/2 cup powdered sugar, or as needed


Directions:

  1. Preheat your oven to 325F/165C. Whisk together the dry ingredients and put them through a sifter if you have one. If you’re using the optional ingredients (nuts or spices), whisk them into the dry ingredients.

  2. Whisk the sugar into the butter until it’s incorporated and creamy. Then whisk in one egg at a time. Lastly whisk in the zest.

  3. Fold the dry ingredients into the wet ingredients in three batches, being careful not to over mix.

  4. Fill a greased mini muffin tin with the batter. Fill each tin a little more than half way, leaving room for rise. Alternatively, you can make small 1 1/2 tbsp mounds on cookie trays and you will end up with “cookie doughnuts”—that taste delicious. Bake until they bounce back to the touch or a toothpick comes out clean. While they cool, prepare the topping by whisking together the sugar and cinnamon in a medium sized bowl.

  5. Once the doughnut holes are cooled, but still warm, roll them in powdered sugar or use a small sifter filled with powdered sugar for a lighter coating.

  6. The doughnut holes will keep for 2-3 days in an airtight container but they are best fresh.


Notes:

Using room temperature butter is key. If your butter is melted these doughnut holes will end up being denser.

New England Ocean - Elizabeth Gregory was a New England ship captains mother

New England Ocean - Elizabeth Gregory was a New England ship captains mother