Whole Grain Fig & Almond Hot Cross Buns (1-Bowl)
/What are they like?
- Moist & Light Rolls
- Filled with your choice of filling: Fig & Almond OR Cherry and Ginger

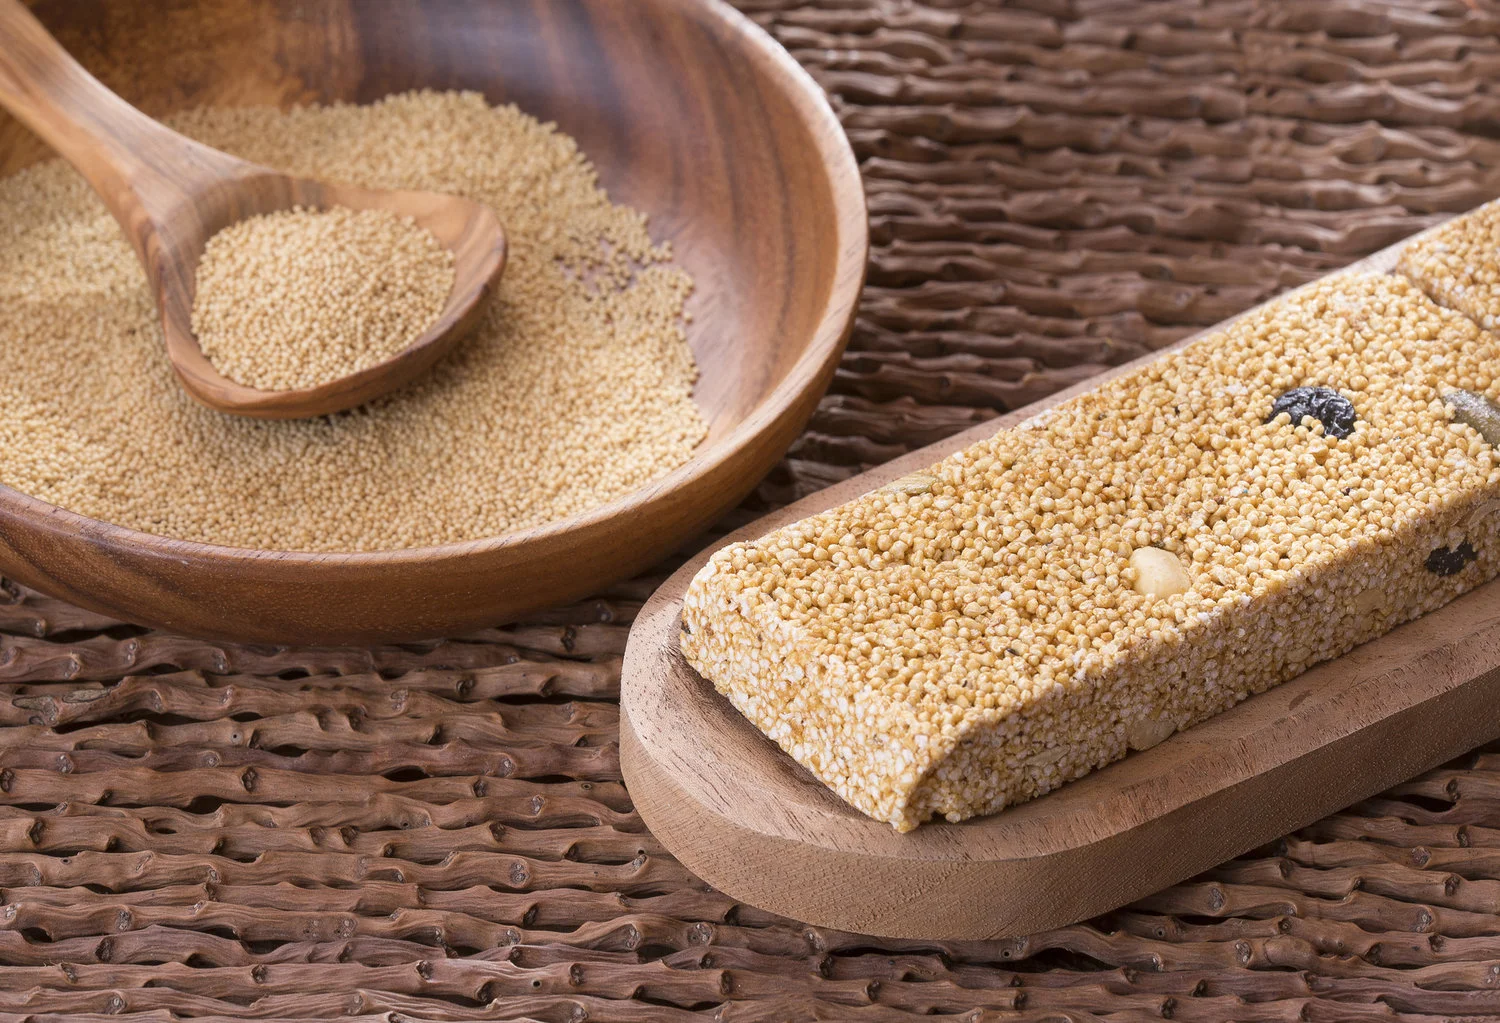
Photographed above are an example of fairly traditional hot cross buns. The recipe below is Whole grain (brown rice and buckwheat) so they are darker in color. The whole grain dough is also thinner than a traditional bun so they are baked in a muffin tin to hold a nice shape.
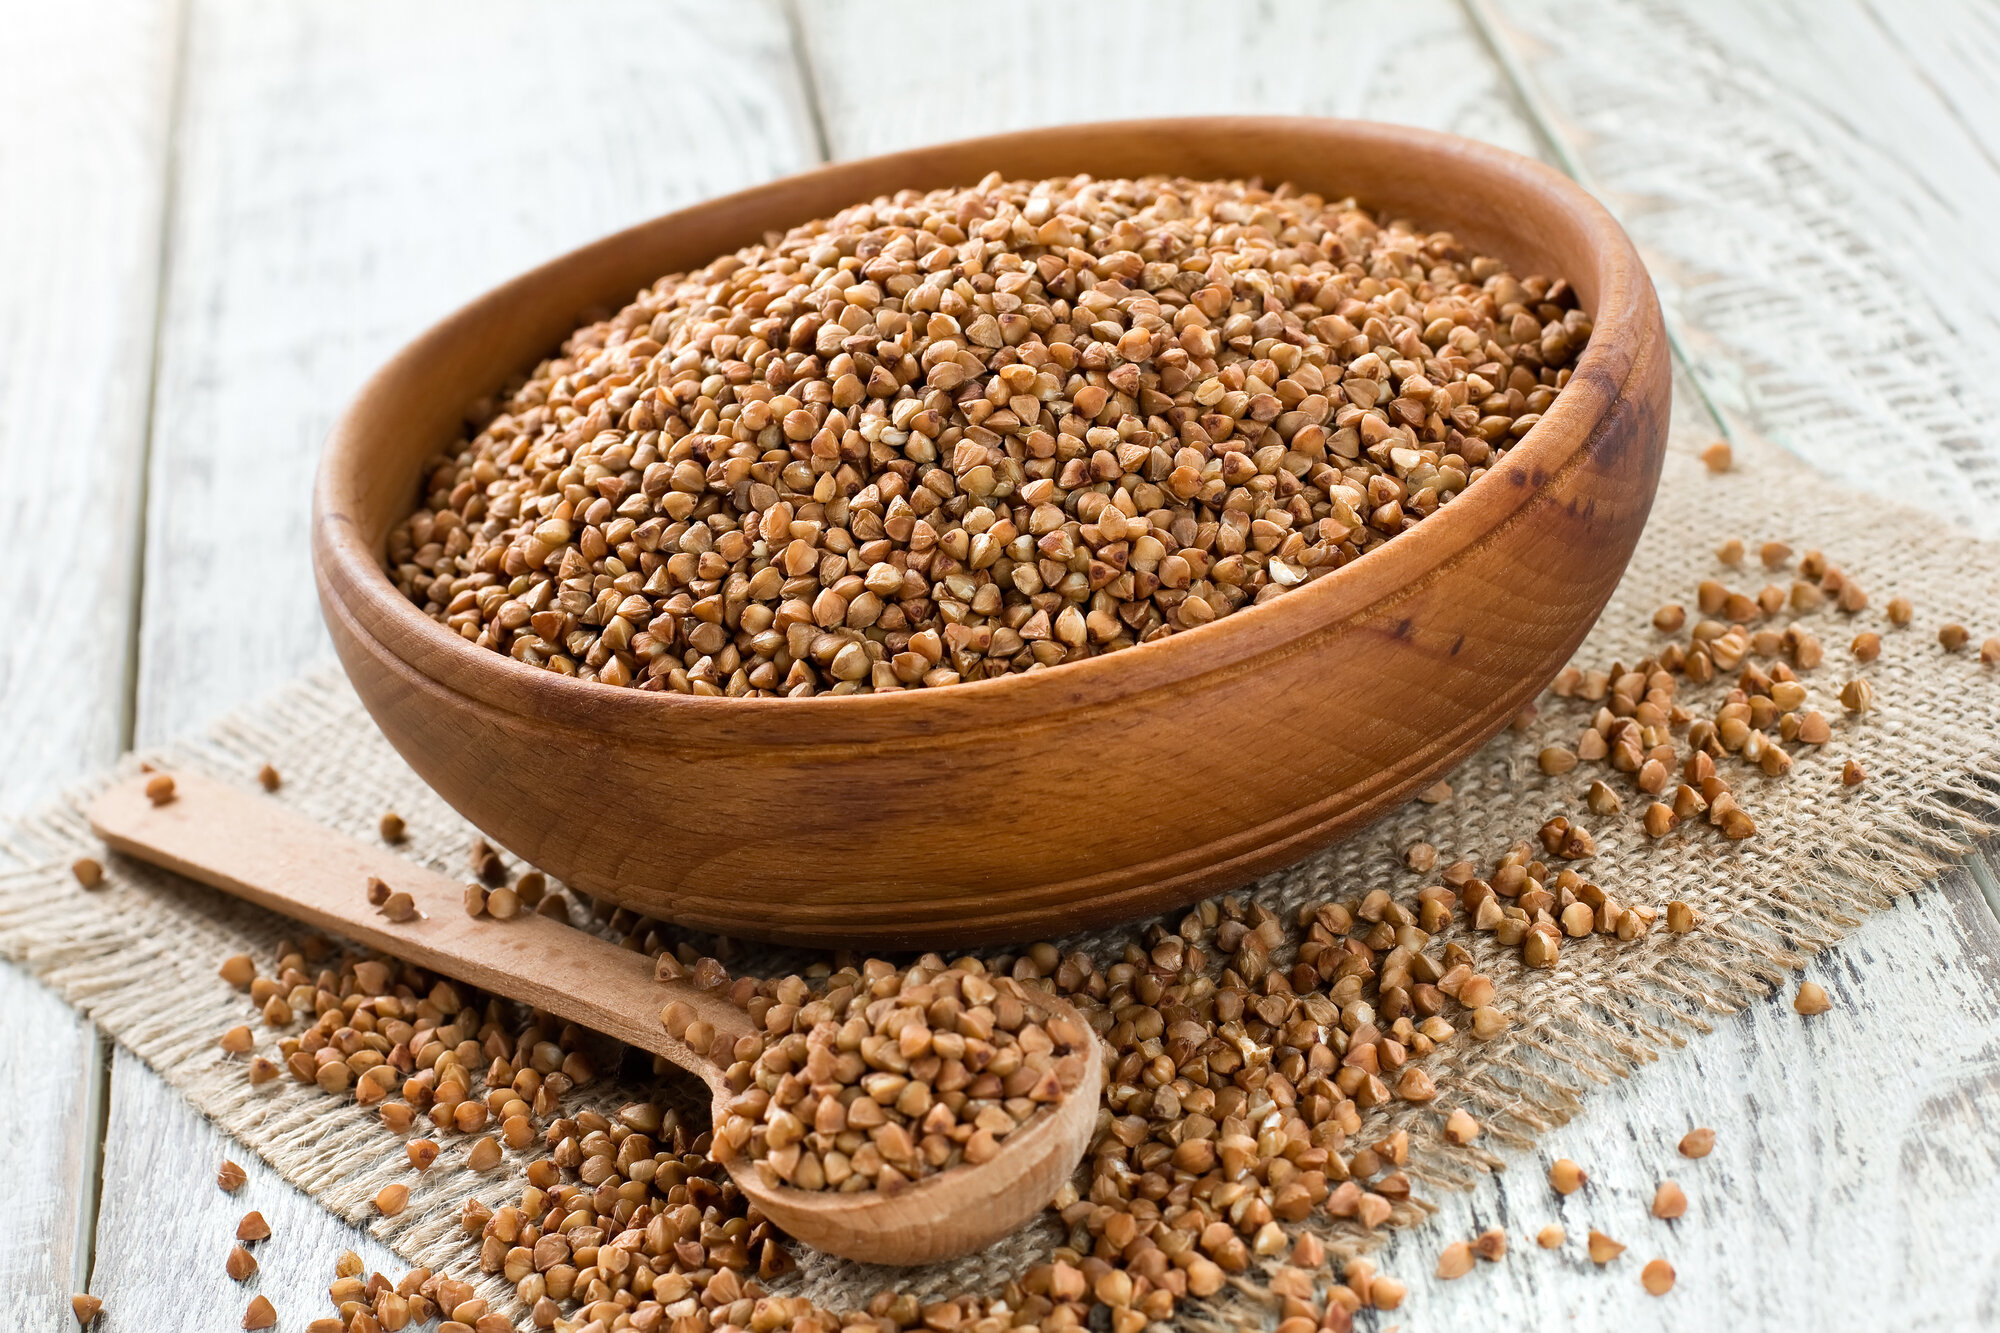
Buckwheat groats pictured above which, despite the name, are naturally gluten free
Recipe
Makes 10 buns (in a regular sized muffin pan)
Dry
3/4 cup flour mix 100g
2/3 cup buckwheat, 103g
1/3 cup tapioca flour/starch, 40g
1 tsp pumpkin pie spice or British mixed spice
1/2 tsp salt 4g
1 1/2 tsp psyllium husk powder, 6g
1 1/8 tsp instant yeast, 4g
Wet
2 tbsp olive oil, 26g
1 large egg
2 tbsp maple syrup, 30g
1 cup warm water, 236ml/g
Additions (optional)
Flavor 1: 1/3 cup cranberries + 3 tbsp crystallized ginger, diced finely
Flavor 2: 1/3 cup diced figs + 1/4 cup slivered almonds + zest of 1 orange
Icing
1 cup powdered sugar
about 1 tbsp water
Directions:
Whisk the dry ingredients together in a large bowl or in the bowl of a standing mixer with the paddle attachment. Add the wet ingredients and mix on low until amalgamated. Mix on medium speed for about one minute. The dough will be very wet.
Next, mix in the dried fruit (optional). Scoop the dough into a muffin tin or whoopee pie tin. Fill each mold a little over half full so that there is plenty of space for the rolls to rise—and they rise a lot!
Allow to rise until at least doubled in volume. Preheat your oven to 350F / 175C. If using a muffin tin, bake for 25 minutes, or until the tops just begin to brown. If you’re using a whoopee pie tin, the rolls will bake for less time, about 20 minutes because they are smaller.
Allow to cool completely. Then mix together the powdered sugar and just enough water to make a thick drizzle (it should coat the spoon generously). Place the mixture in a piping bag or you can make your own (see note). With the icing, make a cross pattern going all the way across the buns. Allow the icing to set and then serve warm or place in an airtight container. I give them a short zap in the microwave before serving. Enjoy!
Notes:
If you prefer to try a savory version of this recipe, you can leave out the dried fruit and frosting and just add a few tablespoons of sunflower seeds and flaxseeds to the dough. Also put a few seeds on top of each roll before baking, and gently press them onto the dough.
You can make your own piping bag from a sandwich bag or parchment paper. Alternatively, you can just dollop some icing on top of the buns with a spoon.